Anyway, I've been playing around with more DIY projects since moving (as you can see in my last post) but with a strapped budget and a guest list of 90 (yes 90) people for her birthday I'm trying to do as many things myself as I can. Pinch those pennies girl!
Update: Here she is in the finished projects! Just in time for those birthday invites. These photos were taken at Picture People.


Here's the first one: A head piece for a princess

I went to the craft store and found a couple pieces of lace that I thought might make a pretty crown. The top one is a thicker almost crochet-like material and the 2nd one is straight cotton. I wasn't sure which would work better so I decided to try both. (I got about 3 yards of both because I wanted to make extra ones for the party) I cut them into 8" pieces and laid them flat.
Then I used my fingers to layer thin, even coats of the fabric stiffener onto the lace. It took about an hour and half for each coat to dry before I could do the next one. I did it on parchment paper and would move them every 45 minutes so they weren't soaking in the stiffener. It helped them dry faster.
I used Stiffy brand fabric stiffener... you could use Modge Podge too but this was a bit cheaper. For the paint, I used Martha Stewart craft paint- they had a 2 for 1 deal so I got silver and a silver sparkle.

When they were dry I just painted them with the silver paint. It was pretty quick, because of the stiffener the lace didn't soak up much color. I only painted the front of the lace too, they were thin enough that they looked silver from the back.
. 
I waited until the paint was dry and then played with them both and decided the top crochet-like material was the best crown. They bended easily without cracking. Then I just hot glued it into a circle.

I debated on how to attach it to my daughters head. I even bought a stretchy headband material but ultimately decided that a headband would hold the circular shape the best. I hot glued it to the headband with no problems.

And here you have it, a crown fit for a princess.. or an almost one year old.
Now, every princes needs a sparkly birthday tutu to go along with her crown right? They're pretty expensive so I searched Pinterest for a way to make one myself. I'm not much of a sewer so I found a few tutuorials (see what i did there haha) and figured out the best way to make it with as little work possible. Really... it's easier than you think.
At the same craft store I picked up 3 yards of a plain, silver tulle. 2 yards of a sparkly tulle and 2 yards of a lavender ribbon.

I didn't do a whole lot of measuring. I just folded the tulle in half and cut it.

Then I folded it in half again and cut it.

Folded it in half again and... you guessed it... I cut it.

And one last time gave me the desired width I was looking for, so with one more cut I was good to go. If you went to Kindergarten then you know that there are 2 folds- a hamburger and a hot dog fold. The hot dog is longer in length- and I just folded my tulle in hot dogs only to get this shape.

For the plain silver I did the exact same thing. The reason it looks bigger is because I started with 3 yards of the plain tulle. The reasoning behind it? It was cheaper so I got more of it, I figured the sparkly one would be more of an accent. The plain was 1.99/yard and the sparkles? I whopping 7.99 a yard. Yowza!

Then I just tied the ribbon around my leg to keep it steady and pulled the tulle through itself in a loop stitch. Forgive me, but both my hands were busy and I couldn't take a picture of this step. Basically you fold the piece of tulle in half, hold the bent part over the ribbon and feed the open side through the loop. I just alternated sparkly and plain tulle pieces- it took about 30 minutes to fill about 18" of the ribbon.

Here you have the finished no-sew product. It is way more sparkly in person, and I really like that this is something that can grow with her with the adjustable string and a little spacing of the tulle. None of it is secured permanently, so I didn't feel bad spending as much as I did on tulle.

Annndddd... one more gratuitous shot of the finished pair.
I have one more project that I made for a centerpiece on one of the tables at her party. It's basically a hybrid of two projects I saw over on my other favorite blog: Young House Love. I made a custom "A" for Averie using their Painted Cardboard Letters and their Fabric Covered Monogram. I wanted to pick a fabric that would work in her room, because I knew I wanted to keep it after the part to display in her room. So I followed their tutorials and I'm pretty happy with the results. Just in case you don't feel like going through the links above, here's how I did it. (but seriously- you should read their blog on the reg... it's amazing)
This project has a lot of steps- but they are all super quick and easy, promise!

This is an extra large cardboard A from the craft store.. it was 1.99
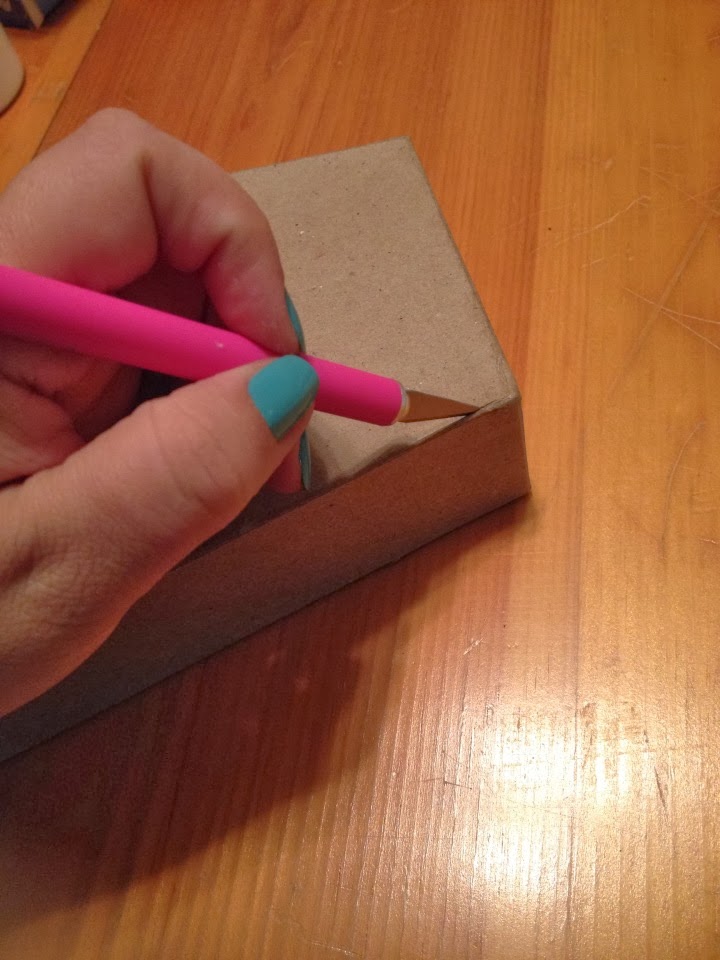
I used an exactoknife to cut off the top of the letter.

Then I used some fine grit sandpaper to get off all rough edges.

Since silver is one of the primary colors at her party I decided to use the Martha Stewart paid from earlier on the edges of the A.

Normally when you are going to cover a letter, you want to flip it over backwards.. but since mine was an A I just left it right side up. I did turn the fabric face down to trace it, I just thought it would be easier to see it.

I used a blue highlighter to trace the A, it's what I had on hand that wouldn't bleed through the fabric. It worked great actually. It'll be my go-to in all my future fabric tracing projects ;)

When I cut it out, I purposely cut inside the lines, I didn't want the fabric to go up the sides of the A, I wanted it to lay flush inside it.

I used the same Stiffy fabric stiffener because I had it on hand, but again you can use Modge Podge... they work the same in this case. I used an old paint brush that I didn't care about, just in case the glue was hard to clean off (spoiler: it wasn't)

I layered a thin coat of Stiffy on the bottom of the letter.

Then I carefully laid the fabric into the letter. If you work quickly, it's pretty easy to manipulate.

Then I just dripped the Stiffy directly onto the top of the fabric, working the brush and glue over to coat it completely.

The corners were tricky to get with the brush. It kept pulling it up, so I just used my fingers to smooth the glue into the corners.

Here's my finished A! I'm kinda obsessed with it.
So there ya have it, a few easy and quick projects that saved me money, and they were fun to make. The best part is we can enjoy them after the party too! Happy crafting!
No comments:
Post a Comment